Your Checklist for Going Solar: The Ultimate Solar Installation Guide
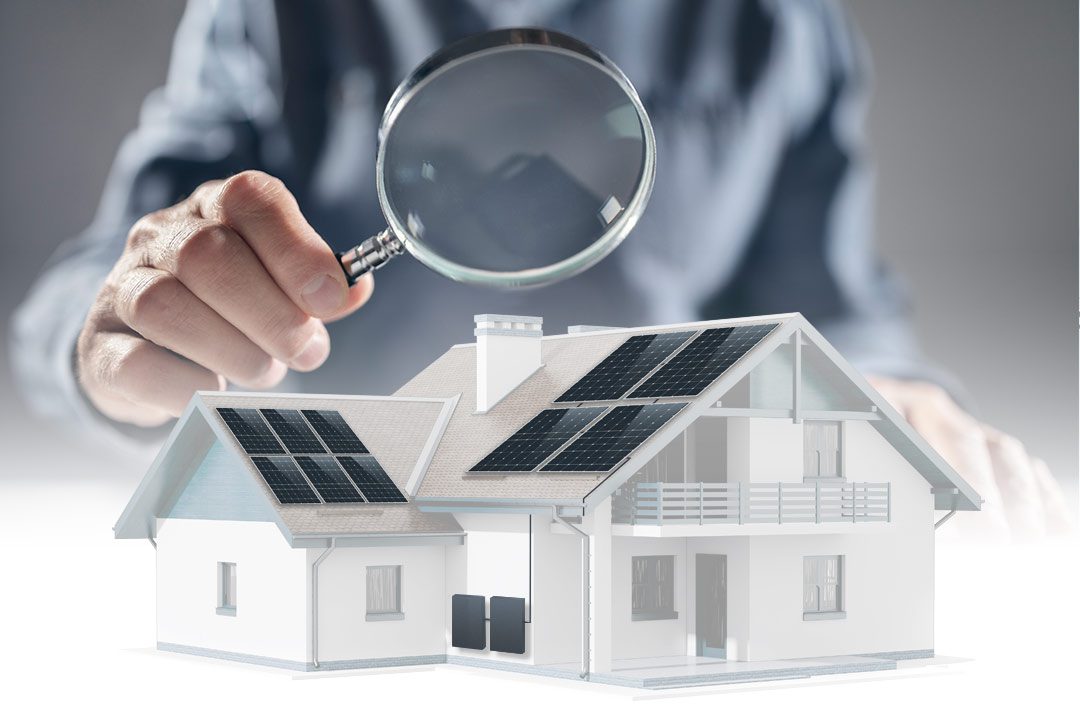
Read our “solar checklist for homeowners” below to learn how New Day Solar can help guide you through the entire process of adding solar to your home.
Switching to solar energy is a valuable investment, and the offering significant savings and helping to reduce your environmental impact.
At New Day Solar, we guide homeowners through each step of the solar installation process to ensure a smooth, hassle-free experience. This comprehensive checklist will walk you through every stage of your solar journey, helping you understand what to expect when you partner with us.

Going Solar Checklist: Assess Your Electrical Energy Needs
Step 1: Assess Your Electrical Energy Needs
New Day Solar Will Help Evaluate Your Energy Usage
New Day Solar will review your energy consumption, analyzing your past 12 months of utility bills to calculate your average electricity usage. This allows us to design a solar panel system that meets both your current and future energy needs.
Homeowners should collect their utility bills from the last year to provide a complete picture of their electricity consumption. If you have plans to add appliances or increase energy usage, let New Day Solar know so we can adjust the system accordingly.
Why Understanding Your Energy Needs is Crucial
Understanding how much electricity your home uses ensures your solar system is sized correctly. It allows New Day Solar to build a system that provides enough energy for your day-to-day needs and any future changes, such as adding an electric vehicle or pool. Knowing this helps maximize your investment over the long term.
For more information on how solar can lower your utility costs, check out our article on reducing electricity bills with solar.
How do I know how much electricity my solar should produce?
How do I know how many solar panels I need?
What if I need more solar panels in the future?
Should I get more solar panels than I need at first?

Going Solar Checklist: Inspect the Condition of Your Roof
Step 2: Inspect the Condition of Your Roof
New Day Solar Will Ensure Your Roof is Ready for Solar Panels
Our team will conduct a thorough roof inspection to verify that your roof is in good condition for solar panel installation. We will assess the age, material, and structural integrity to determine if any repairs or replacements are needed before the panels are installed.
A solar panel system is a lifetime investment, so your roof needs to be in top condition. Addressing roof issues beforehand ensures the panels stay securely in place for decades without risking damage or costly repairs later. Solar panel installations require a solid foundation to optimize performance and system longevity.
For further guidance on roof preparation, read our article on how to know if your roof is ready for solar panels.
How many solar panels can I fit on my roof?
What if my roof is too small for solar?
What if my roof is damaged?
Can I put solar panels on my roof and on the ground?
What if I need to replace my roof before adding solar?
Going Solar Checklist: Evaluate Sunlight Exposure and Potential Shading
Step 3: Evaluate Sunlight Exposure and Potential Shading
New Day Solar Will Assess Your Roof’s Sunlight Exposure
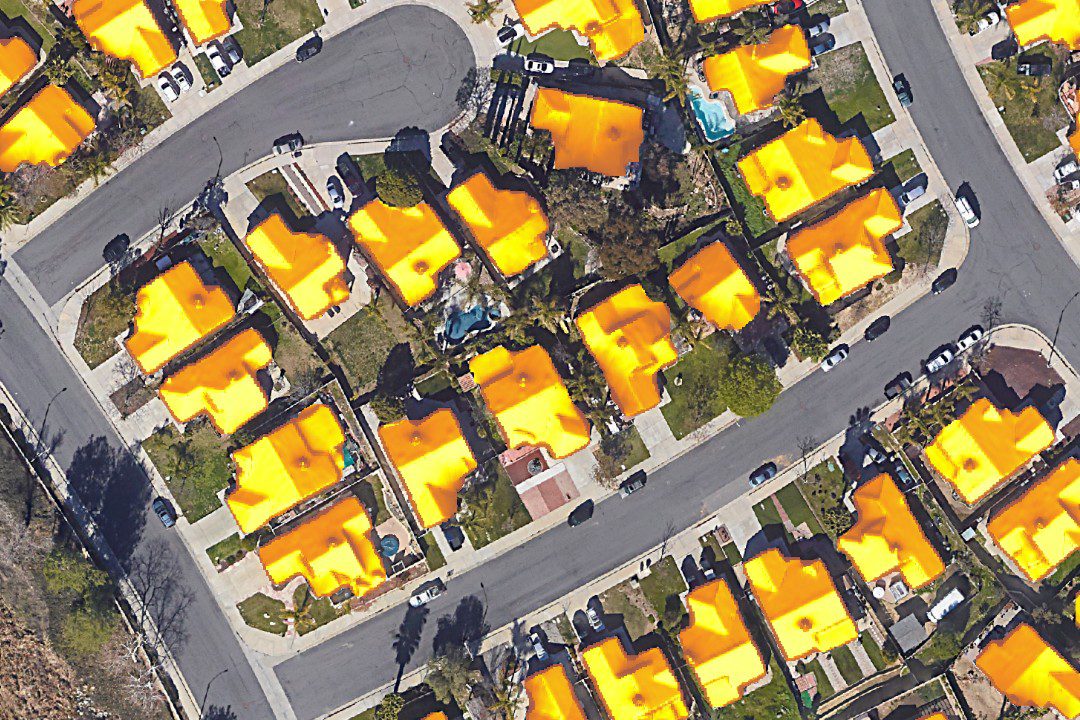
New Day Solar will conduct a shading analysis during the site evaluation to determine how much direct sunlight your roof receives and to identify any obstructions like trees or nearby buildings. This allows us to design a system that captures the maximum amount of solar energy.
Maximize Sunlight by Clearing Potential Obstructions
Homeowners should evaluate whether any trees or other objects cast shadows on their roof. Trimming overhanging branches can help increase sunlight exposure, which will improve the efficiency of your solar system. If you’re not comfortable with this step, don’t worry, our team has all the resources required to ensure your install maximizes your solar potential.
Learn more about how we optimize sun exposure in our guide on solar panel placement.
How big of an impact does shade have on solar production?
Will solar panels work if my home is always in the shade?
Should I remove trees to reduce shade before adding solar?

Going Solar Checklist: Choose the Right Solar Panel System
Step 4: Choose the Right Solar Panel System
New Day Solar Will Help You Select the Best Solar Equipment
We’ll guide you through the process of selecting the most efficient and cost-effective solar equipment for your home. This includes recommending the right type of solar panels and inverters, and if you desire more energy independence, we offer battery storage solutions like Tesla Powerwall and Enphase systems.
Decide on Your Long-Term Energy Goals for Your Home
Homeowners should consider their long-term energy needs, such as potential electric vehicle charging or future energy usage increases. If you’re interested in battery storage or backup power, let us know during the design phase so we can customize the system accordingly.
Learn more about your equipment options in our solar equipment guide.
What is the best brand of solar equipment?
Can I mix and match solar brands?
Which solar equipment brands offer battery storage?
Which solar equipment brands offer the best warranty?

Going Solar Checklist: Understand the Solar Installation Process
Step 5: Understand the Solar Installation Process
New Day Solar Will Handle Every Step of the Installation
The solar installation process at New Day Solar is streamlined for efficiency and safety. Here’s an outline of what happens:
- Mounting the Racking System: The racking system, which secures your solar panels to your roof, is installed first. This forms the foundation for the solar array.
- Installing the Solar Panels: The solar panels are mounted to the racking system, positioned to capture maximum sunlight.
- Electrical Wiring Setup: Our certified installers connect the solar panels to your home’s electrical system via inverters and other components.
- Connecting the Inverter: The inverter is installed to convert the direct current (DC) from the panels into alternating current (AC) that powers your home.
- Monitoring System Installation: New Day Solar includes a monitoring system so you can track your system’s performance in real-time.
Why Being Informed About the Installation Process is Helpful
Knowing what the installation entails helps you prepare your home and schedule around the process. While our team handles all the technical details, understanding the basic steps gives you peace of mind and allows you to anticipate any questions that may arise during installation.
Once the installation is complete, we schedule a thorough inspection to ensure everything meets local building codes and utility regulations.
For more details on the installation process, see our article on how solar panels are installed.
What's involved with installing a solar system?
How long does it take to install solar on my home?
Do I need to be home during my solar installation?
Can I install solar on a property I don't own?

Going Solar Checklist: Obtain Solar Permits and Approvals
Step 6: Obtain Permits and Approvals
New Day Solar Will Handle All Necessary Permits and Approvals
New Day Solar takes care of submitting plans, obtaining permits, and coordinating with local authorities and utility companies to ensure that your system complies with all regulations. We navigate the often complex approval process, especially in states like California with strict solar requirements.
Check Local City & HOA Guidelines if Applicable
If you live in a neighborhood governed by a homeowner’s association (HOA), check with them regarding any solar installation rules. While California law generally supports your right to install solar panels, some HOAs have specific guidelines on where panels can be placed.
Explore more about HOA guidelines in our solar installation and HOA restrictions article.
How long does it take for a solar permit to be approved?
What if my permit for solar is denied?
What if my HOA doesn't allow solar?
Going Solar Checklist: Schedule the Solar Installation Date
Step 7: Schedule the Installation Date
New Day Solar Will Schedule and Complete the Installation Efficiently
Once all permits and approvals are secured, New Day Solar will coordinate with you to schedule the installation. Our team works quickly and efficiently, ensuring the project is completed in a timely manner, usually within one to several days depending on the size of the system.
Clear the Area for a Smooth Installation Day
Homeowners should ensure that the roof and areas surrounding the installation site are clear of obstacles like outdoor furniture, vehicles, or plants. If weather conditions are a concern, communicate with New Day Solar in advance to avoid delays.
For more on installation timelines, check out our guide on installation expectations.
How long will it take to install my solar panels?
Can I reschedule my solar installation?
Does bad weather affect the solar installation process?

Going Solar Checklist: Post Solar-Installation Inspection and Testing
Step 8: Post Solar Installation Inspection and Testing
New Day Solar Will Perform Final Inspections and Testing
After installation, our team will perform a thorough inspection and testing of your system. We’ll ensure the wiring, inverter, and monitoring system are working properly. In addition, local authorities and your utility company will conduct their own inspections to confirm that the system meets safety and regulatory standards.
Be Available for Solar Inspection Coordination
Homeowners should be available during the inspection period to allow access to the home if necessary. Inspections are typically scheduled in advance, and your cooperation helps ensure the process goes smoothly and on time.
What equipment should be inspected after my solar installation?
How do I know my new solar system is actually working?
What if my electric bill doesn't change after installing my solar system?
What if I notice damage to my property after my solar installation?
Going Solar Checklist: Connect to the Grid / Use Solar Battery Backup
Step 9: Connect to the Grid / Use Battery Backup
New Day Solar Will Connect Your System to the Grid or Configure for Zero Export
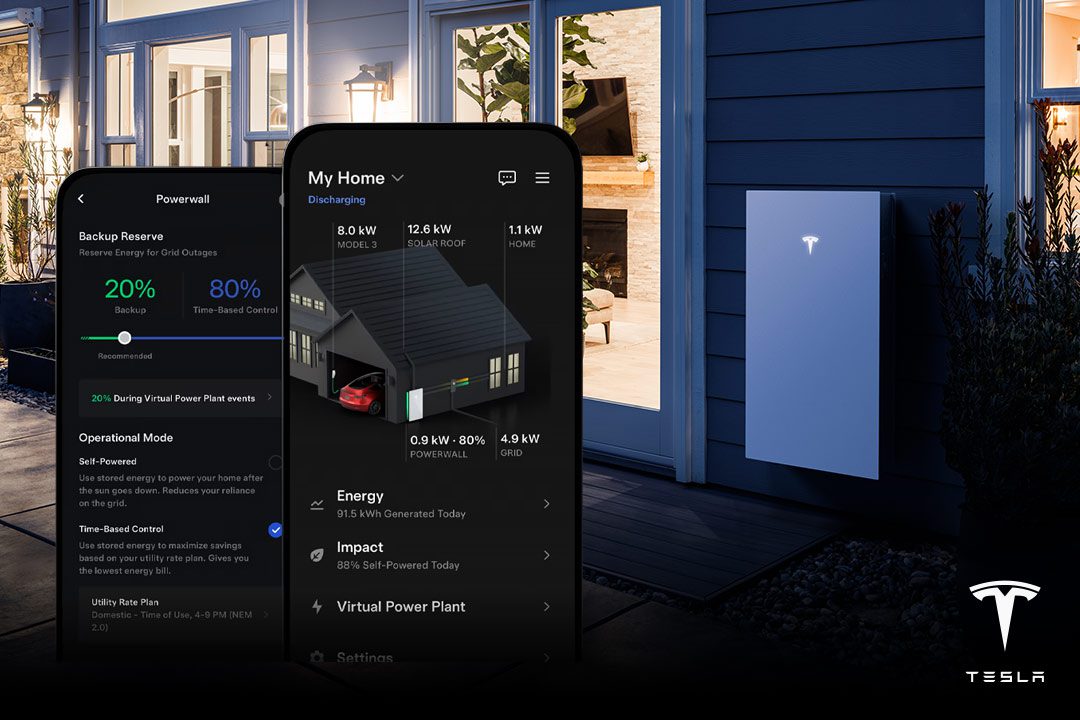
Once all inspections are complete, New Day Solar will connect your solar system to the grid. If you are enrolled in California’s Net Energy Metering (NEM) program, any excess energy generated by your system will be credited to your account, reducing your future utility bills. For homeowners who have selected battery backup systems like Tesla Powerwall or Enphase, we will configure the system to store excess energy for use during outages or at night.
Additionally, if you have chosen a zero export option, New Day Solar can configure your system to prevent excess energy from being sent back to the grid. This is particularly useful in areas where utility companies have restrictions on energy export.
Familiarize Yourself with Energy Monitoring, Zero Export, and Insurance Updates
Homeowners should become familiar with the solar monitoring app to track how much energy their system is producing and storing. If you opted for a zero export configuration, understanding how it impacts energy management is key. It’s also important to notify your homeowner’s insurance provider about the solar installation to ensure your system is properly covered.
For more on battery and zero export options, read our guide on battery backup systems and zero export solar systems.
Should I stay connected to the grid after installing solar?
Is a grid connection necessary after installing solar battery storage?
Where can I learn more about Net Energy Metering (NEM)?
What is Zero Export solar?
What should I tell my insurance company after installing solar?

Going Solar Checklist: Maintain Your Solar Panel System
Step 10: Maintain Your Solar Panel System
New Day Solar Will Provide Ongoing Maintenance and Support
To ensure your solar system continues operating at peak efficiency, New Day Solar offers comprehensive maintenance plans. These plans include regular inspections, cleaning services, and ongoing monitoring to detect and resolve any potential issues. Our team will inspect your system’s components, including wiring and inverters, to ensure everything is functioning correctly and safely.
Routine cleaning helps remove dirt, dust, bird droppings, and other debris that can reduce the efficiency of your panels. New Day Solar can schedule cleanings as part of your maintenance plan to keep your system producing maximum energy year-round.
Schedule Regular Maintenance, Inspections, and Cleanings for Optimal Performance
While solar panels are low-maintenance, scheduling regular inspections and cleanings is essential for keeping your system in top condition. Dust and debris can accumulate over time, which can reduce energy production. Regular maintenance ensures that any potential issues are caught early, preventing costly repairs later.
New Day Solar offers solar maintenance plans that include annual inspections and cleanings. These services help you get the most out of your investment while ensuring your system remains efficient for decades.
For more details, check out our guides on solar panel maintenance tips and solar panel cleaning.
What maintenance will my solar system need?
How often should my solar system be inspected?
How often should my solar system be cleaned?
What if I notice a decrease in my solar production?
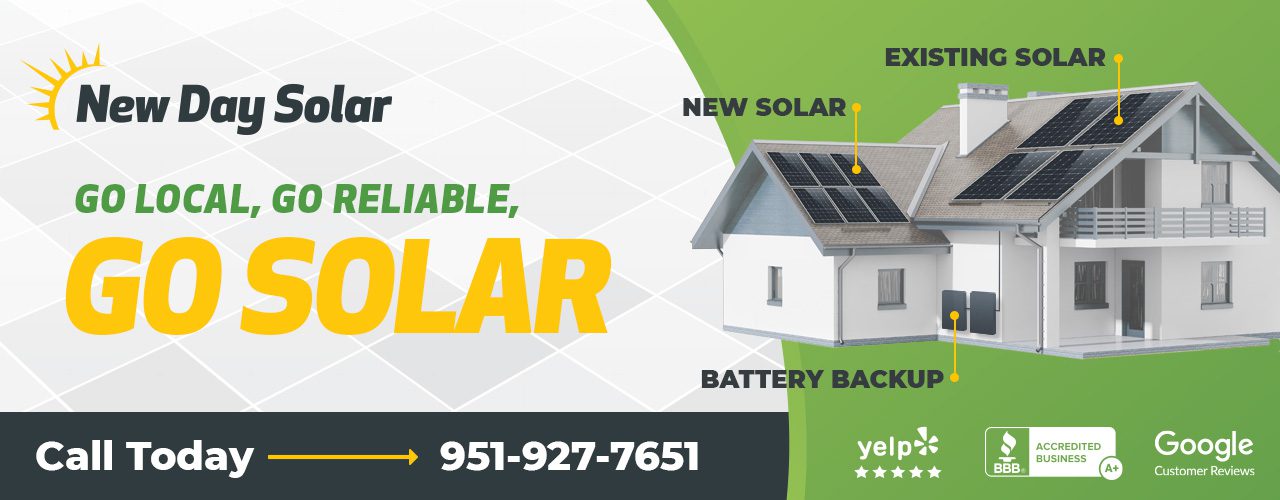
New Day Solar Will Guide You Through The Entire Solar Installation
Once your solar system is up and running, you’ll likely notice some changes in your electricity bill. Your first bill after installation can be different from what you’re used to, especially if you’re enrolled in the Net Energy Metering (NEM) program.
New Day Solar will guide you through understanding your new billing cycle, showing you how to interpret solar credits, energy usage, and any remaining charges.
At New Day Solar, we pride ourselves on providing exceptional service at every stage of your solar installation. From the initial consultation to long-term maintenance, we ensure your system is designed and installed to the highest standards. If you’re ready to take the next step or have questions about the process, feel free to contact us.
Filed Under:
have questions?
Schedule a consultation with Our Solar Experts
Find out more with an honest, no pressure consultation
with our team of solar experts.